Table of Contents
AI Summary
How to Clean a Ninja Creami (And Why Rinsing Immediately Matters Most)
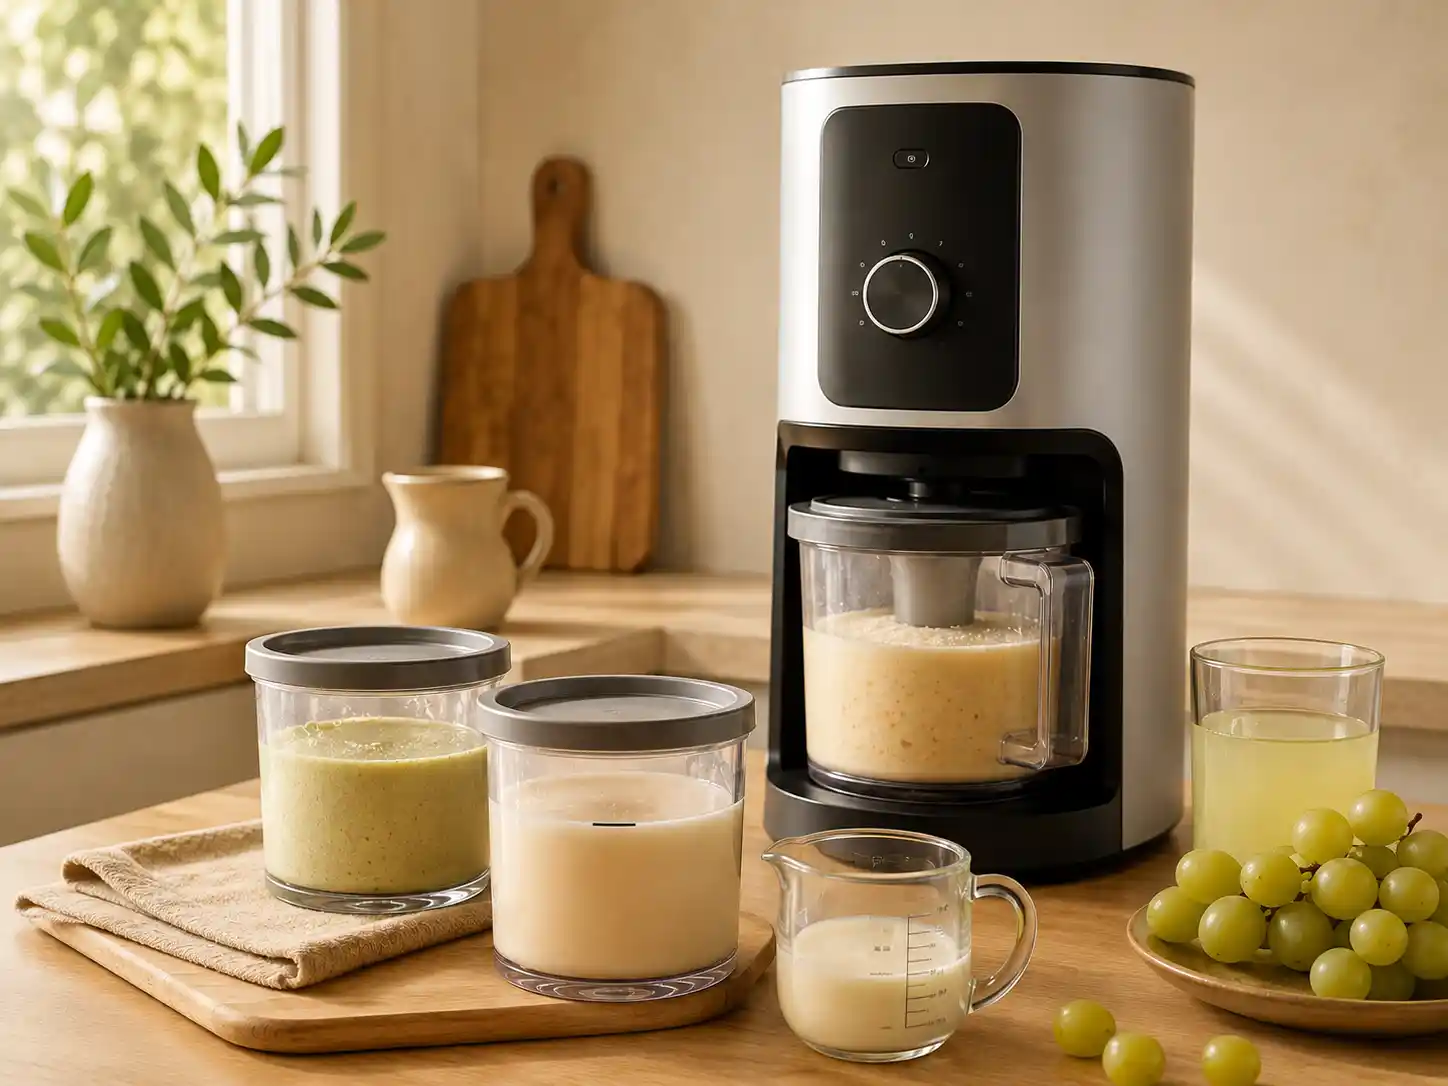
Dairy and sugar residue hardens fast and can start growing bacteria within a day if left sitting. Here's the full cleaning routine, what's dishwasher-safe, and the one 30-second habit that prevents almost every buildup problem.
The Ninja Creami doesn't have many parts, which makes cleaning it fairly simple - but the timing matters more than most people expect. Dairy and sugar-based residue hardens fast, and food safety guidance usually notes that bacteria can begin multiplying on food residue left at room temperature within about a day. Skip the rinse for a day or two, and a five-minute cleanup turns into real scrubbing.
Here's the full routine, what's actually dishwasher-safe, and the one habit that prevents almost every buildup and odor problem before it starts.
The one habit that matters most: rinse immediately
If you take away a single tip from this whole guide, make it this one: rinse every removable part under warm water within a few minutes of finishing, before the residue has a chance to dry.
Roughly 30 seconds of rinsing right after use consistently saves much longer scrubbing sessions later, according to multiple owners who've used the machine regularly for months. Sugar and fat harden quickly once they sit, especially around the paddle and inside the lid mechanism - once hardened, that residue takes real effort to remove. A quick rinse while everything's still wet avoids the problem entirely.
The standard cleaning routine
For routine cleaning after each use, this covers everything:
Unplug the base first. Always disconnect power before removing or cleaning any part near the spindle mechanism, to rule out any accidental startup.
Remove the pint container from the outer bowl, and detach the Creamerizer Paddle (blade) from the lid.
Rinse all the removable plastic parts - the pint container, its lid, the outer bowl, the outer bowl lid, and the paddle - under warm water to loosen any residue.
Wash with mild dish soap and a soft sponge or cloth. Avoid abrasive scrubbers, which can scratch the plastic surfaces and create more places for residue to cling over time.
Wipe the motor base with a damp cloth only. Never submerge or run water directly over it - this is the one part of the whole process where water is off-limits, since it houses the motor and electronics.
Dry everything completely before reassembling or storing. Trapped moisture on a surface that looks dry but isn't is a common cause of lingering odors, more so than any failure in the cleaning itself.
This full routine takes about 5 minutes when done consistently, since nothing has had time to harden.
What's dishwasher-safe (and what isn't)
Most of the plastic components are dishwasher-safe: the pint containers, their lids, the outer bowl, and the outer bowl lid can all go on the top rack.
The Creamerizer Paddle is technically dishwasher-safe on most models too, but many owners prefer hand-washing it specifically, for better control around its sharp cutting edge rather than tossing it in with the general dishwasher load.
The motor base is never dishwasher-safe and should never be submerged in water at all - hand-wipe only, with the unit unplugged.
The deep clean (every 2-3 weeks)
Day-to-day rinsing and washing handles most buildup, but a more thorough clean every couple of weeks - more often with heavy use - catches what the quick routine can miss.
This means disassembling a bit further than usual and paying attention to spots that are easy to overlook: the lid gasket area, the underside of the blade holder, and any crevices around the outer bowl's connection points. These areas can trap moisture or residue that a quick rinse doesn't reach.
Set aside 30-40 minutes for a deep clean, checking each part carefully and making sure everything dries fully before you put it back together.
Safety notes while cleaning
A few precautions worth keeping in mind, since the blade is the one genuinely sharp component.
Always unplug the unit before touching anything near the spindle or blade mechanism - this rules out any chance of accidental activation while your hands are near the moving parts.
Handle the Creamerizer Paddle by its edges or handle rather than gripping the blade itself, the same way you'd handle any sharp kitchen tool.
Avoid abrasive sponges anywhere on the unit, not just for scratch prevention but because rougher scrubbing near the blade area increases the chance of an accidental cut.
Why this actually affects how long your Creami lasts
Consistent cleaning isn't just about avoiding bad smells - it protects the machine itself. Built-up residue around the blade and lid mechanism can affect how smoothly the paddle processes future batches, and residue left to harden repeatedly is harder on the components over time than a quick rinse after every use.
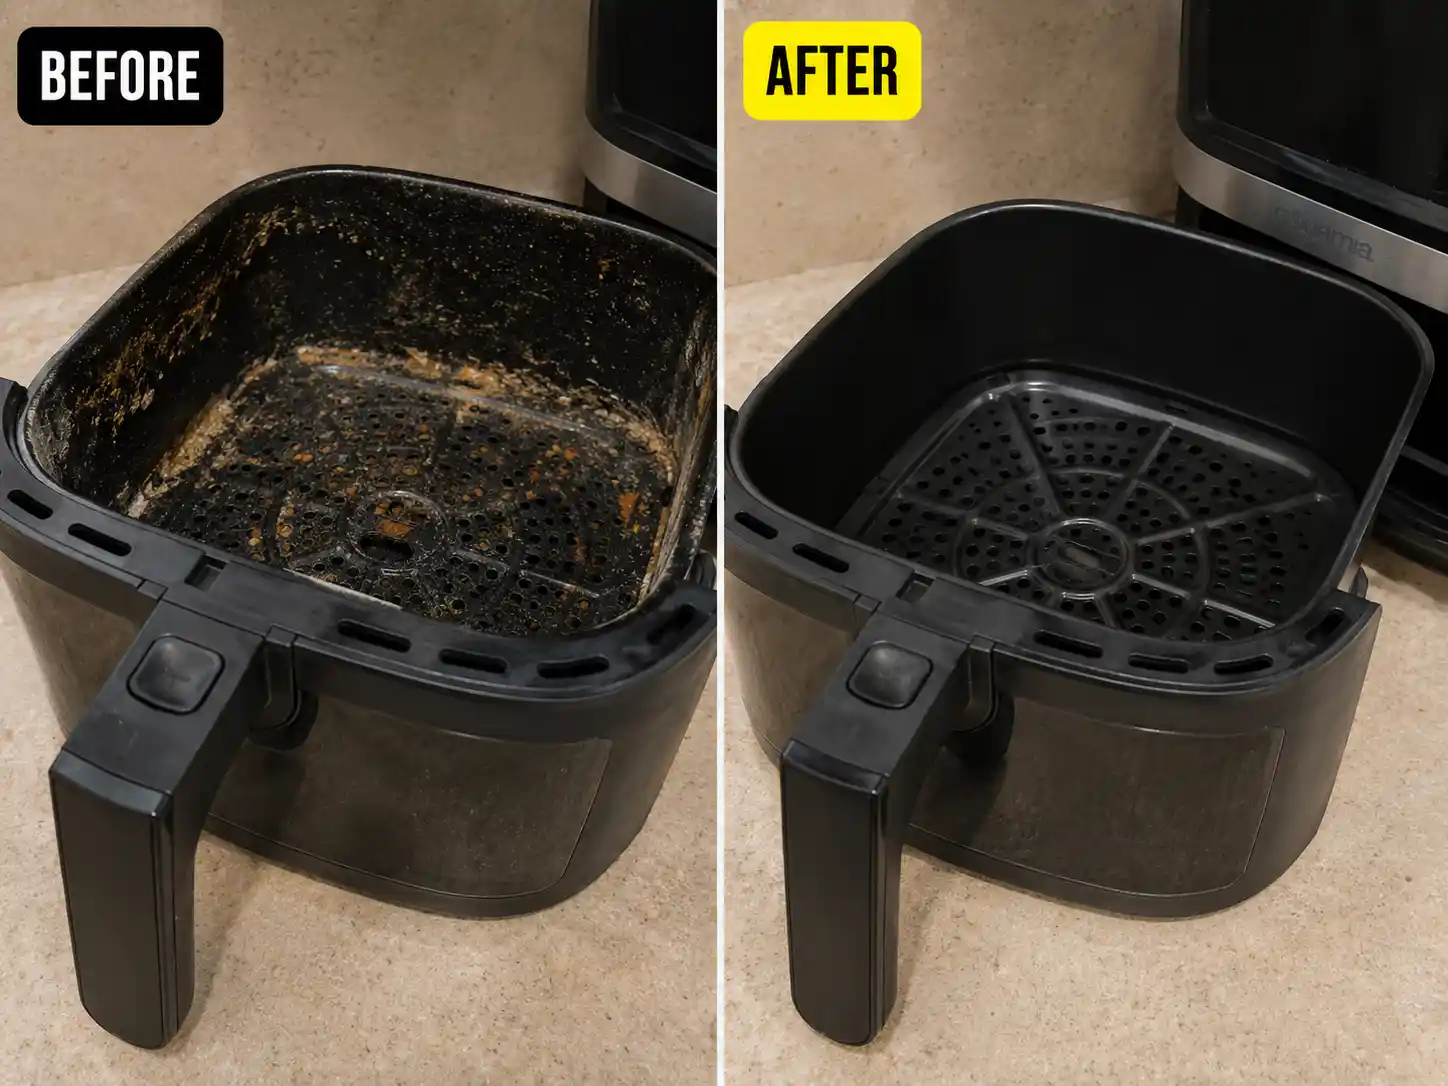
This connects directly to the appliance's overall lifespan. It's a pattern that holds across most kitchen appliances, not just this one - our guide on cleaning an air fryer properly covers the same underlying principle, where regular cleaning is consistently the biggest factor within your control.
The bottom line
The Ninja Creami is genuinely easy to keep clean if you build one habit: rinse everything within a few minutes of finishing, before residue has a chance to harden. That single step prevents the large majority of buildup and odor problems on its own.
Beyond that, wash with mild soap (skip the abrasive scrubbers), keep the motor base dry and wipe-only, dry everything fully before storing, and set aside a slightly deeper clean every couple of weeks. Do this consistently and the whole routine stays a five-minute task rather than a recurring chore.
For more on getting the most out of your machine, our complete guide to the Ninja Creami covers the fundamentals, and our mistakes to avoid guide covers the manufacturer's own safety warnings.
Sources and further reading
The information in this article is based on the following sources:
- Dreami Desserts - "Cleaning and Maintaining Your Ninja Creami: A Complete Guide"
- Modern Home Tools - "How to Clean Ninja Creami Properly for Peak Performance"
- Ice-Creami - "Maintaining and cleaning your Ninja Creami"
- Ninja Ice Cream - "How to properly clean your Ninja Creami: 5 tips"
Always check your specific model's manual for dishwasher-safe parts, since details can vary slightly between the original Creami, Deluxe, and Swirl models.
Most removable parts are - the pint containers, lids, outer bowl, and outer bowl lid can all go in the dishwasher (top rack recommended). The Creamerizer Paddle (blade) is also technically dishwasher-safe on most models, though many owners prefer to hand wash it for better control around the sharp edge. The motor base itself is never dishwasher safe or submersible.
No, never submerge or run water directly over the motor base. It houses the electronics and motor. Wipe it down with a damp cloth only, and make sure it's unplugged first. This is the one part of the whole cleaning process where water is off-limits.
As soon as possible, ideally within a few minutes of finishing. Dairy and sugar residue hardens quickly, and food safety guidance generally notes that bacteria can multiply on food residue left at room temperature within about 24 hours. A quick rinse right after use prevents the residue from drying and sticking, which is what makes cleaning harder later.
Handle the Creamerizer Paddle carefully - it has a sharp cutting edge. Rinse it under warm water and wash by hand with a soft sponge and mild soap, even if your model lists it as dishwasher-safe, for better control. Always unplug the unit before removing or cleaning any part near the spindle mechanism, to prevent any accidental startup.
Both. A rinse and quick wash after every use handles day-to-day buildup. On top of that, a more thorough deep clean every 2-3 weeks (disassembling further, checking the lid gasket and less-visible areas like the back of the blade holder) catches anything the quick routine misses, especially with frequent use.
Usually residual moisture trapped somewhere, or a spot that got missed in a quick wash - commonly the lid gasket area or the underside of the blade holder. Make sure every part is completely dry before reassembling and storing, since trapped moisture on a partially dry surface is what causes lingering odors rather than the cleaning itself being ineffective.
No, avoid abrasive scrubbers on any part of the unit, including the pint containers and outer bowl. They can scratch the plastic surfaces, which creates more places for residue to cling to over time and dulls the appearance. A soft sponge or cloth with mild dish soap is sufficient for normal cleaning.